

Building a ChatGPT App using Flutter
Flutter is a state-of-the-art cross-platform mobile development framework owned by Google that allows developers to create visually stunning, high-performance native applications for iOS, Android, and web. On the other hand, ChatGPT is an AI model that utilizes the power of GPT to generate human-like responses to chat messages.
In this tutorial, we'll be putting both technologies together to create a ChatGPT application using Flutter. We'll be utilizing the Dart programming language and Flutter's widgets to communicate with ChatGPT and display the chat interface.
Prerequisites
Before we start building our application, you'll need to set up your development environment. Here are the necessary prerequisites:
- Flutter SDK installed on your machine.
- An IDE, such as Android Studio, IntelliJ IDEA, or Visual Studio Code.
- A working knowledge of Flutter and Dart.
Setting up the Application
- Create a new project in your IDE of choice.
- Add the
httppackage and theflutter_dotenvpackage to yourpubspec.yamlfile using thedependenciesproperty.
dependencies:
  flutter:
    sdk: flutter
  http: ^0.12.2
  flutter_dotenv: ^4.0.0
- Create a
.envfile in your project's root directory and add your ChatGPT API key.
OPENAI_API_KEY=<YOUR_API_KEY>
- Import the necessary packages in your
main.dartfile.
import 'dart:convert';
import 'package:flutter/material.dart';
import 'package:http/http.dart' as http;
import 'package:flutter_dotenv/flutter_dotenv.dart';
- Create a
ChatPageclass that will display the chat interface and handle the user's input.
class ChatPage extends StatefulWidget {
  const ChatPage({super.key});

  @override
  ChatPageState createState() => ChatPageState();
}

class ChatPageState extends State<ChatPage> {
  // Map of messages and whether they were sent by the user
  final _messages = <String, bool>{};
  final _textEditingController = TextEditingController();

  @override
  Widget build(BuildContext context) {
    return Scaffold(
      appBar: AppBar(
        title: const Text('ChatGPT Demo'),
      ),
      body: Column(
        children: [
          Expanded(
            child: ListView.builder(
              itemBuilder: (context, index) {
                var isUserMessage = _messages.values.elementAt(index);
                return Row(
                  mainAxisAlignment: isUserMessage
                      ? MainAxisAlignment.end
                      : MainAxisAlignment.start,
                  children: [
                    Flexible(
                      child: Container(
                        alignment: isUserMessage
                            ? Alignment.centerRight
                            : Alignment.centerLeft,
                        padding: const EdgeInsets.all(16),
                        margin: EdgeInsets.only(
                          top: 4,
                          bottom: 4,
                          left: isUserMessage ? 40 : 4,
                          right: !isUserMessage ? 40 : 4,
                        ),
                        decoration: BoxDecoration(
                          borderRadius: BorderRadius.circular(8),
                          color: isUserMessage ? Colors.blue : Colors.grey,
                        ),
                        child: Text(_messages.keys.elementAt(index)),
                      ),
                    ),
                  ],
                );
              },
              itemCount: _messages.length,
            ),
          ),
          TextField(
            controller: _textEditingController,
            onSubmitted: _sendMessage,
            decoration: InputDecoration(
              hintText: 'Type your message',
              contentPadding: const EdgeInsets.all(8),
              suffixIcon: IconButton(
                icon: const Icon(Icons.send),
                onPressed: () => _sendMessage(_textEditingController.text),
              ),
            ),
          ),
        ],
      ),
    );
  }

  void _sendMessage(String message) async {
    setState(() {
      _messages[message] = true;
      _messages["..."] = false;
    });

    // Send API request to ChatGPT
    final response = await http.post(
      Uri.parse('https://api.openai.com/v1/chat/completions'),
      headers: {
        'Authorization': 'Bearer $openAiKey',
        'Content-Type': 'application/json',
      },
      body: jsonEncode(<String, dynamic>{
        'model': 'gpt-3.5-turbo',
        "messages": [
          {"role": "user", "content": message}
        ]
      }),
    );

    if (response.statusCode == 200) {
      final json = jsonDecode(response.body);
      setState(() {
        _messages.remove("...");
        _messages[json['choices'][0]['message']['content']] = false;
      });
    } else {
      print('Request failed with status: ${response.statusCode}.');
    }

    // Clear text field
    _textEditingController.clear();
  }
}
- Modify your
main.dartfile to display theChatPagewhen the app starts.
final openAiKey = dotenv.env['OPENAI_API_KEY'];

void main() async {
  await dotenv.load();
  runApp(MyApp());
}

class MyApp extends StatelessWidget {
  @override
  Widget build(BuildContext context) {
    return MaterialApp(
      title: 'ChatGPT Demo',
      home: ChatPage(),
    );
  }
}
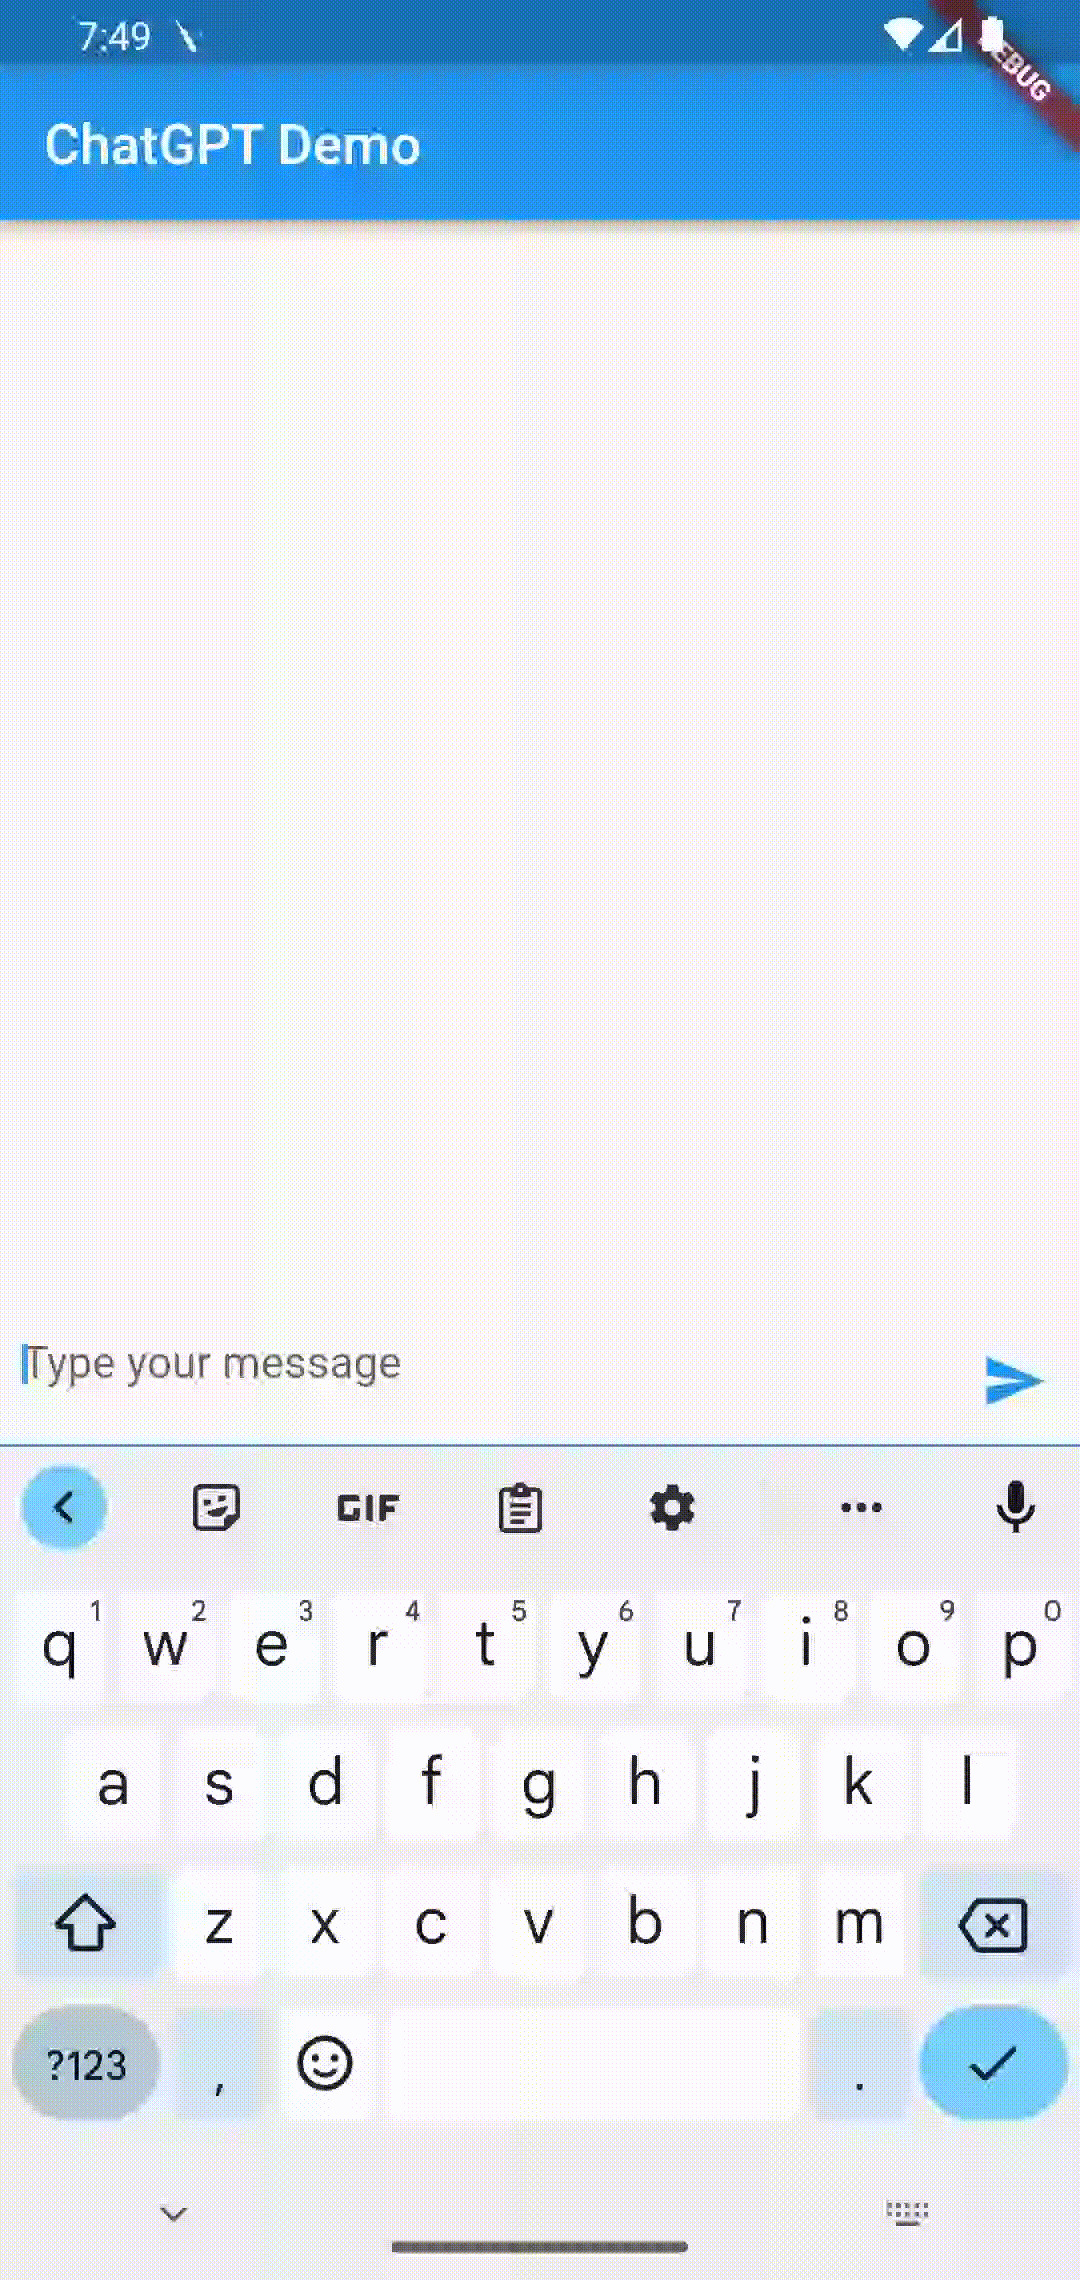
That's it! You now have a fully functional ChatGPT application built with Flutter. Launch your app and start chatting with ChatGPT.
For suggestions and queries, just contact me.